Pillow Expert Tips on Fluffing Down and Feather Pillows

Whether your down and feather pillow is brand new or a pillow you have
loved for years, the thing they both have in common is they must be
fluffed. Did you know there is actually some tips and tricks you MUST
know to get the best support out of your down and feather pillow?
There is! Let’s start at the beginning.

Brand new down and feather pillow

When you buy your new down and feather pillow from Pillows.com, it
will arrive compressed. Most the air has been removed from inside the
pillow and the down and feathers have now fallen flat. Don’t let this
scare you. All this new pillow needs is some good fluffing.

Step 1 – Take the pillow out of the packaging. Start pushing some air
into the pillow by grabbing the fabric on each side of the pillow and
fan them in and out like a bellow. This will push strong blasts of air
inside the pillow and give those down and feathers some life. This
first fluffing may take some extra time since you need to push a lot
of air into it. After you do this step for a few minutes, you should
notice a big difference in the pillows loft. If you got a larger
pillow size like a queen or king, follow these steps and then place
your pillow in the dryer on low or no heat and run the cycle for 20
minutes.

Pillow in Pillows.com packaging


Step 2 – PILLOW PROTECTORS are down and feather pillows’ best friend.
These perfectly tight fitting cotton cases will insure your pillow
doesn’t fall flat. You use these with a normal pillowcase. Place your
pillow inside the pillow protector and then put your pillowcase over
that. Not only will your pillow have better support but it will help
protect your down and feather pillow and help it last longer.

Down and Feather (Pillowtex 75/25) fluffed and in Pillowtex Pillow Protector. Links down below in blog.

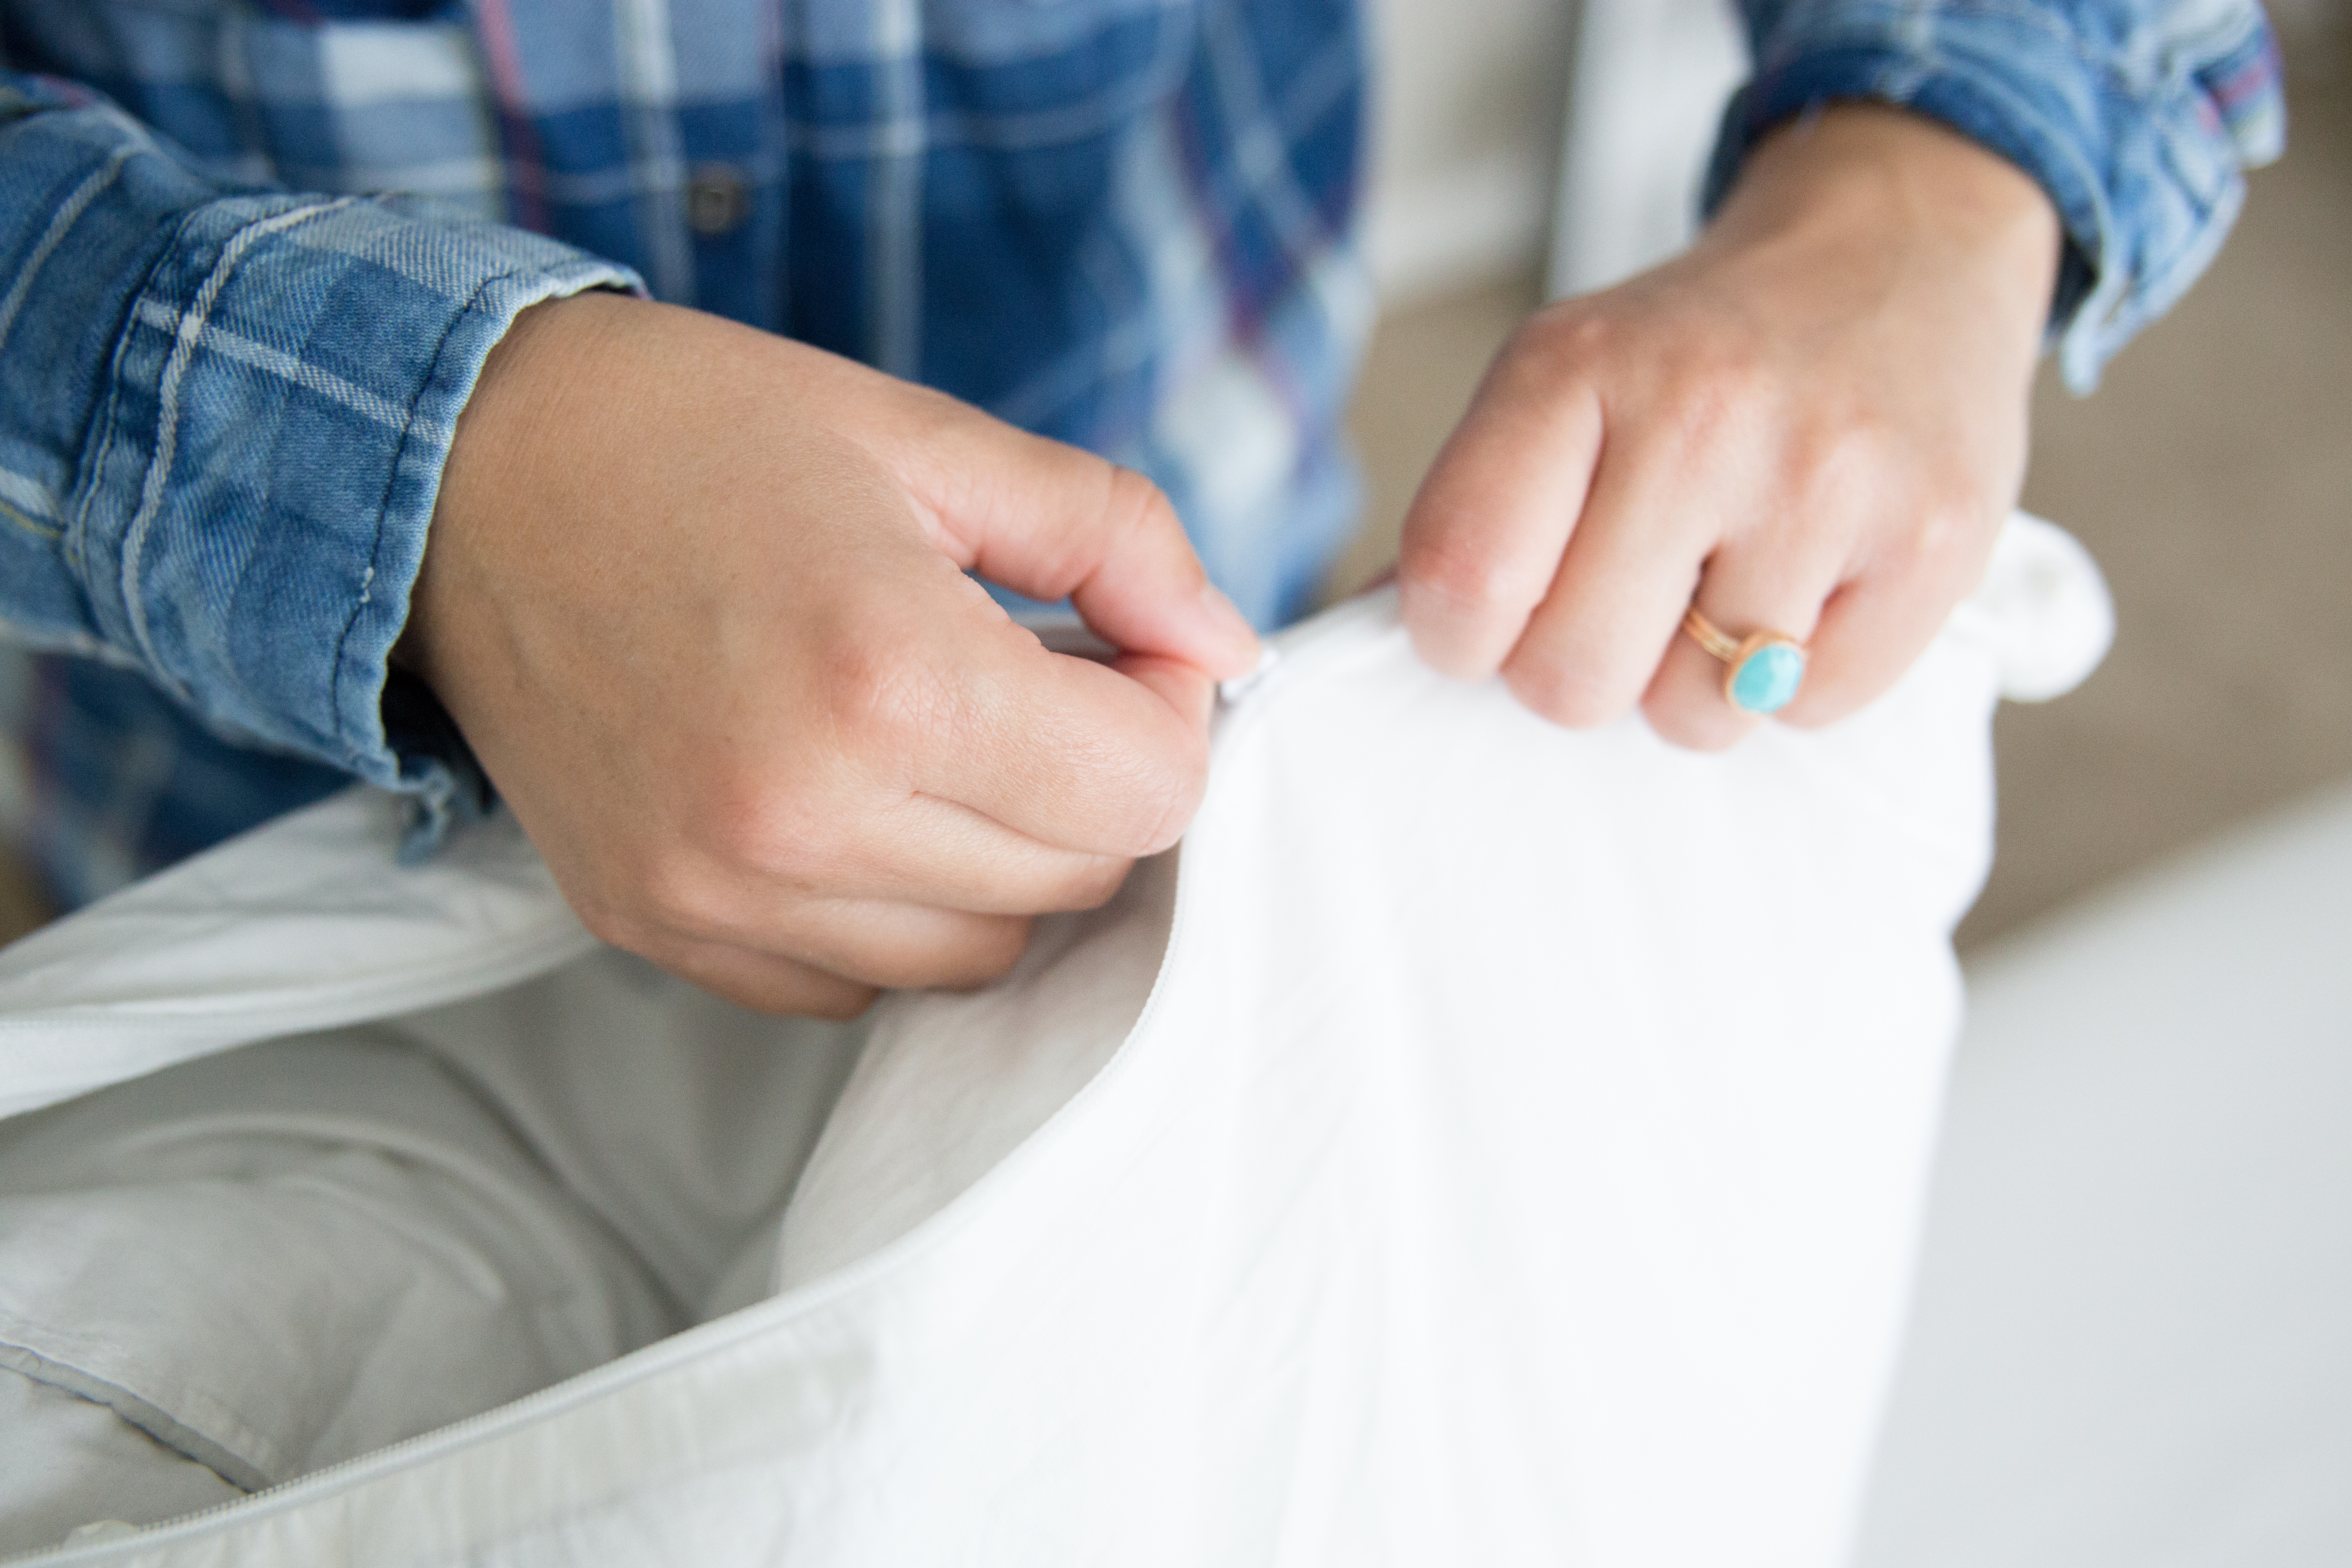
Getting your lofty full pillow inside a pillow protector and pillowcase can sometimes be hard. I learned a new trick to make it easier! Look! 

Step 1. Fold pillow in half and grab the corners. Place pillow in protector and then let go!
Step 2. Zip up protector
Step 3. Repeat step 1 and place pillow in pillowcase next.

Daily fluffing steps

Step 1 – While your pillow is inside the pillow protector and
pillowcase, do a few quick “bellow” fluffing movements. Grab the
fabric on each side of the pillow and fan them in and out to give some
strong blasts of air into the pillow. Rotate pillow and do again.
Shake the pillow up a little to get the filling to move around. We
want those down and feathers to not stick to each other.

Step 2  – Grab the top of the fabric of the opening of the pillowcase
and do a shake down motion. This will help the pillow to settle down
deep into the pillowcase and give us extra fabric to do the “hotel
pillowcase fold”

Shake down the pillow to the bottom and pull up any extra pillowcase fabric to the top


Step 3 – This hotel housekeeping trick really makes a difference! Once
you have that extra fabric pulled up, lay your pillow down and tuck in one side and fold in the other on top of that. Straighten out the edges and that’s it! Voila! A perfectly fluffed and folded down and feather pillow that will support you all night long. Once you get used
to doing this, it should take about a minute to complete and will
truly make your pillow that much better!

Tuck in the top part first
Fold in the bottom part of the pillowcase into the pillow
Smooth out the edges and make a clean crease
Beautiful lofty pillow fit for a five-start hotel.


*** products used in photos are the Pillowtex 75/25 in Standard Size – https://www.pillows.com/pidoandfepi.html   and the Pillowtex Pillow Protector – https://www.pillows.com/pillowtex-protectors.html

How to make your bed and pillows feel like a luxury hotel

Nothing is better than sliding into a cloud-like hotel bed and it is even better when it is your bed at home. One of the reasons we all love climbing into a hotel bed is by feeling all snuggly with the tightly fitted sheets. Making your bed with this step by step process will make this chore easy and will set a good tone for the rest of the day!

Dana at pillows.com

Step 1- Bottom Sheet

Make sure the bottom sheet is tucked tightly around the entire mattress. This is the base of the sheets!

Dana at pillows.com

Step 2- Top Sheet

Next, you will place your top sheet on the mattress. Lay this flat sheet 7-8 inches from the top of the mattress, so there is enough sheet to make and edges and to tuck in along the foot of the bed! Tuck in the sheet along the foot of the bed and leave out the corner sheets.

Dana at pillows.com

Step 3- Tackling on the Corners

The corners are probably the trickiest part of this entire process. But don’t be scared because once you do it once you will see how truly easy it is. To get the crisp, edges that hotel beds have is actually easier than it looks. Now let’s focus on the corners. Lift the sheet in half and tuck that “tail” part into the mattress, then take the other have and tuck that in to create a clean cut crease. Repeat this on the other side to matching corners!

Dana at pillows.com
Dana at pillows.com
Dana at pillows.com
Dana at pillows.com
Dana at pillows.com


Step 4- Comforter

Add your favorite comforter or duvet. Hotels usually use duvet covers over comforters to make the comforters nice and clean and have the comforter last longer. The duvet covers are typically 100% cotton to make it breathable.

Dana at pillows.com

Step 5- Fluffing your pillow

Next step is fluffing pillows! Hotel pillows are typically down and feather pillows, which require daily fluffing. To ensure your pillow stays full and lofty, squish the pillow in and out which pushes air into the down and feather clusters to make the pillow full! There is truly not a right or wrong trick to this however, daily fluffing is a big MUST do. 

Dana at pillows.com
Dana at pillows.com


Step 6- Pillow protector

Next step is to put a pillow protector around your pillow. A pillow protector will help keep the pillow full and lofty! A secret tip to make this step a little easier is to fold the top two corners while using your arm in the middle of the pillow to flatten out the pillow. Slide the pillow into the pillow protector and release it once it is all the way in. Place the pillowcase over this using the same process. Fluff the pillow to have it sit nicely in the pillowcase. Next, by just grabbing the edge of the pillowcase, use a downward shaking motion to push the pillow to the bottom of the pillowcase. Next is a BIG housekeeping secret, do a fold and tuck with the extra pillowcase fabric to create a seal. Straighten out the edges to make a clean crease. This will method will tighten the pillowcase around the pillow and actually create a better feel and support of your pillows. 

Dana at pillows.com
Dana at pillows.com
Dana at Pillows.com
Dana at Pillows.com
Dana at Pillows.com
Dana at Pillows.com

Step 7- Finishing Touches

Straighten out the pillows and make sure everything is wrinkle free! And that’s it! A hotel-quality bed in the comfort of your own home!

Dana at Pillows.com

Bedding Expert Tips

What you need on your bed you ask?

4 pillows. 2 soft and 2 firm

Soft sheets

Comforter with a duvet cover

1 light weight blanket at the foot of the bed. THAT’S IT!

Our 5 top-selling hotel pillows are:

  1. Pacific Coast Down Surround Pillow featured in Many Marriott Hotelshttps://www.pillows.com/pacodosupife.html
  2. Down Dreams Classic Firm Pillow featured in Many Hilton Properties– https://www.pillows.com/hilton-down-dreams.html
  3. Down Dreams Classic Soft Pillow featured in Many Hilton Propertieshttps://www.pillows.com/down-dreams-pillow-hilton.html
  4. Down Etc. 75% White Goose Feather/ 25% White Goose Down Pillow- Featured at St. Julien Hotel & Spahttps://www.pillows.com/st-julien-pillow-downetc.html
  5. Pacific Coast Double Down Surround Pillow- Formerly Featured in Many Ritz-Carlton Hotels- https://www.pillows.com/pacododosupi2.html


Hotel Duvets and Comforters


  1. Pacific Coast Down Comforters- retail version of the comforter used in many Marriott Propertieshttps://www.pillows.com/madoduc.html
  2. Asheville Comforter- Similar to the Comforter Found in Many Hilton Hotelshttps://www.pillows.com/asheville-comforter-hilton.html
  3. Pillowtex ® Classic Weight Down Alternative Comforters / Duvets– https://www.pillows.com/piclwedoatco.html
  4. Pillowtex ® Hotel Cotton Duvet Cover -Blend Wrinkle Resistant– https://www.pillows.com/pillowtexhotelduvetcotton.html


*** Sheets used in above photos are from Pillows.com website – Cariloha Bamboo- Classic White Sheet Set- Queen- https://www.pillows.com/cbcssq.html


How to survive Daylight Savings Time

When it’s time to change your clocks, the saying goes, “Spring forward, fall back!” It sounds simple enough. In the fall, when Daylight Savings Time ends, we set our clocks back one hour. In the spring, when Daylight Savings time begins, we move our clocks forward one hour. Though, what does all this switching up of the times do to our sleep? Oh, the fall sounds nice since we actually gain an extra hour of sleep. But, what happens in the spring when Daylight Savings Time begins, and we jump ahead one hour losing that precious 60 minutes, that’s 3,600 seconds of precious sleep time? Add a new baby, a child or two, or even a pet into this drowsiness, and suddenly those hands on the clock are starting a pillow fight with your bedtime rituals. When Daylight Savings Time arrives, be prepared to not only set your clock back an hour but to recharge your body’s own sleep clock to adjust with the time change with these helpful sleeping tips.

Do not disturb sleep hours

Most things worth doing require planning, including getting quality sleep. It doesn’t usually just happen. Plan for the lost hour by starting a week ahead of time and slowly moving your bedtime up by 15 minutes each night. Even though your sleep time is being pushed up an hour, make sure you are still getting enough sleep. Start by doing some simple math to set your bedtime by calculating backwards from the time you need to wake up. Make getting 7 to 8 hours of sleep every night a priority. Like putting up a Do Not Disturb sign on your hotel door, treat these hours as something that cannot be messed with.

Set the tone for sleep

Even though you set aside a bedtime and waking time that meets your body’s sleep requirements, this doesn’t mean that the second your head hits the pillow you are immediately fast asleep. Start by setting the tone for quality sleep time by following a relaxing ritual at bedtime, such as taking a warm bath, listening to relaxing music, or reading a book. Make sure the room is dark, that the temperature is cool, and it is quiet. If it helps you, turn on an air filter or fan for white noise or use black-out, light-reducing curtains to block out lights.

A good night’s rest starts in the kitchen

Don’t eat a heavy meal just before bedtime and expect to settle in for a full night’s rest. Don’t let that midnight snack come back to haunt your sleep time. Digesting food requires energy which may keep you awake or wake you in the middle of the night. Make sure your final meal of the day or night-time snack is finished two or three hours before you call it a night. Also, be careful not to drink too much caffeine or alcohol before bed. Both caffeine and alcohol have a tendency to disrupt sleep. Additionally, while you may think it’s relaxing to have one last cigarette, cigar, or pipe smoke before bed, it actually stimulates you and makes it difficult to sleep well.

Mattresses and pillow fights

Use Daylight Savings Time as a chance to re-evaluate your mattress and pillow. Since you will be stretched out on your mattress with your head resting on a pillow for the next 7 to 8 hours, it only makes sense that these furnishings are taken seriously as much more than mere pleasant décor. When your mattress begins to wear out, it may start to sag and fail to provide you with the proper comfort and support. If your mattress is older than seven years, it’s time to start looking for a new one. Likewise, pillows wear out and fail to properly support your neck and back. If you start waking up with neck or headaches, take a good look at replacing your pillow.

Waking hours lead to sleep

The way you spend your day can have a major impact on how well you sleep at night. Staying active, getting plenty of daytime light, or even taking a short 20-minute nap during the day may contribute to better night-time sleeping. Just make sure your workouts or short nap ends at least a couple hours before bedtime.

Sleep like a baby

The time change is often especially rough if you have a baby or young children living with you.  The good news is that the same sleep-aid steps that work for you will probably work for them as well. It will just require some effort and attention on your part to make sure their trouble with adjusting to the time change doesn’t keep you up at night as well.

Take it slow – Start about a week or so ahead of Daylight Savings time, and begin to slowly adjusting your child’s napping and sleeping times by 10 or 15 minute increments each day leading up to the time change.

Routine – Establish bedtime rituals that are the same every night. Start to wind down after dinner leading up to a relaxing time for bed. Your night-time ritual may mean an evening bath, snuggle time, or even a bedtime story. Whatever it is, keep it consistent as possible every night.

Darken the room – Depending on what time your child goes to bed, a time change can throw off how much light comes into the room, since the sun may still be up. Install black-out, room-darkening shades if streetlights or such become a problem.

Stay cool – Cooler temps at night help the body want to sleep or to snuggle up in a blanket. For safety, use sleep sacks for infants.

Relax and be patient – No matter how pleasant and relaxing you make the environment and bedtime ritual, some kids just won’t stay down for the night. Time changes exacerbate the issue, and since you may be feeling the stress from lack of sleep yourself, it’s more difficult to deal with it. Try to remember that their little bodies are trying to get into their own individual circadian rhythm, and this often requires patient intervention on the part of the parent to make changes to your child’s routine, daytime activities, or to the physical environment to help them sleep.

Daylight savings isn’t easy. Loosing 60 whole precious minutes of sleep is a sacrifice I am willing to make, because soon enough that warm sunshine and beautiful flowers will be here! So, don’t forget to “spring forward” this Sunday March 11th!